It always surprises me how few people have heard of a spray bar.
While they certainly aren’t for everyone, there is no denying that a spray bar can be a very useful piece of aquarium equipment.
In fact, they are so useful that many people go the DIY route and create their own custom spray bar just for their aquarium.
But what is a spray bar? And do you need one in your tank?
Let’s find out!
Contents
What is an aquarium spray bar?
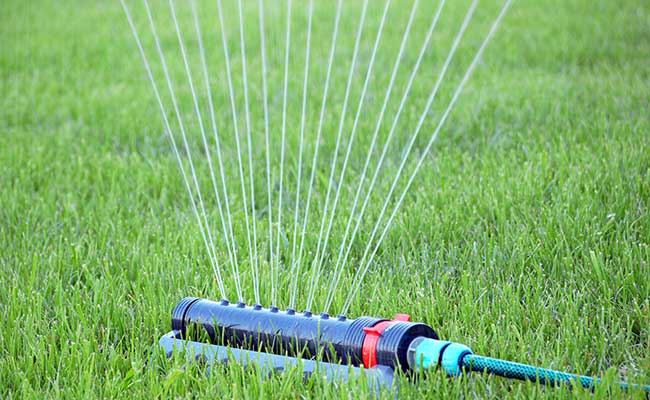
You know those sprinkler tubes that attach to the end of your garden hose?
Yeah, that one!
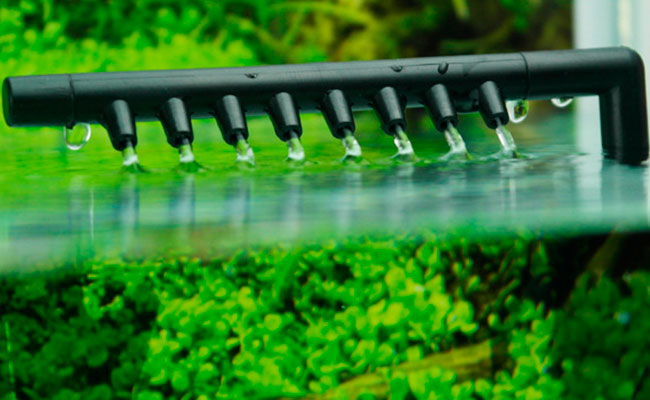
Well, a spray bar is similar to that, except it sits on the filter outlet or water pump – gently spraying filtered water back into your tank.
Some brands of internal filters even come with a built-in spray bar.
Why do you need a spray bar?
As you likely already know, oxygen enters the water of your aquarium through the surface.
Well, a great way to increase the amount of oxygen in your tank is by agitating the surface water of your aquarium.
That’s where a spray bar comes in.
A spray bar is one of the many aquarium products available, such as airstones, that can be used to agitate the surface of your aquarium.
The spray bar attaches to your filter outlet and evenly sprays the water across the surface of your aquarium.
Spray bars are typically installed in the horizontal position. After all, it’s spray bar, not spray pole.
As the spray hits the water, it churns the surface, allowing more oxygen to enter the water.
Spray bars also benefit your tank by creating water movement, an essential part of a healthy tank. Besides betta and gourami, there are not a lot of fish that happily live in stagnant water!
Whether you need a spray bar or not entirely depends on your current setup.
If your aquarium has good surface agitation and movement already, then a spray bar doesn’t have much to offer.
But if you have dead spots in your tank or are looking for some gentle water movement, a spray bar is just the tool you need.
You can also use a spray bar to decrease surface agitation. By aiming the spray bar at the glass, the water will gently trickle down into your tank.
Where do you place your spray bar?
The ideal location for your spray bar depends on your tank.
Consider the following points when deciding on the right spot.
1. On the rear of your tank or on the side?
If you are using a spray bar to create water flow, I would recommend placing it on the rear of your tank.
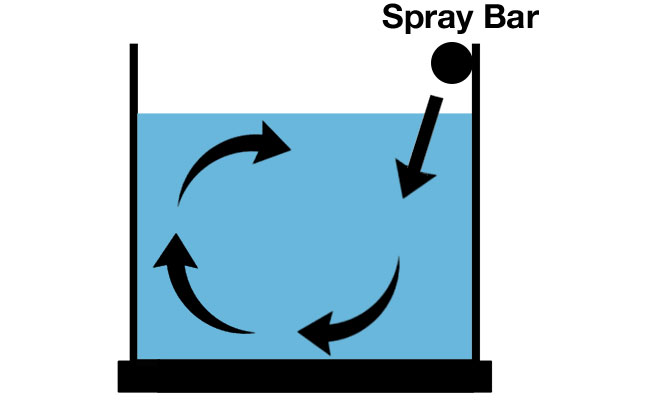
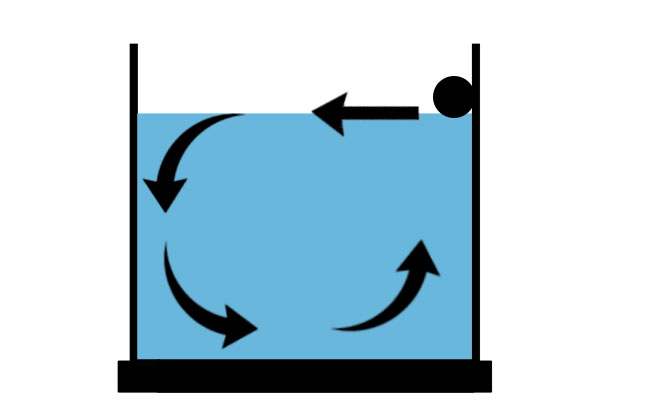
Unless you have an unusually shaped tank, the distance from the front to the rear will be shorter than from one side to the other.
The shorter distance makes it easier to create constant circular water movement throughout your tank, like this…
Or this…
If you place the spray bar on the side of your tank, the water current has to move farther, which can result in incomplete water movement…
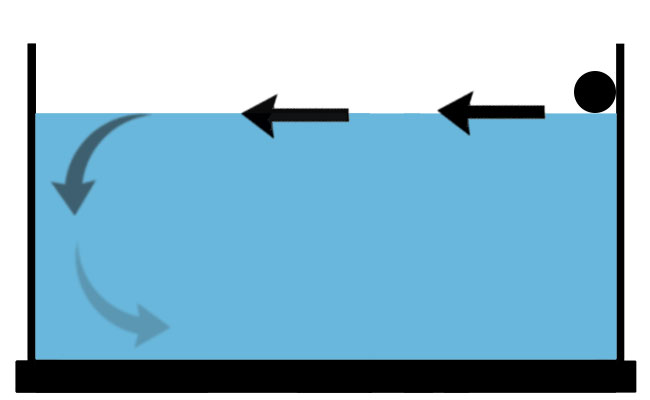
On the flipside, if you have your filter inlet on one side of the aquarium, and you place your spray bar on the other, you can get a nice current flowing across your tank.
2. Above the water or below it?
While the majority of hobbyists position the spray bar above the water, it may surprise you to learn that you can also place it underwater.
The main benefit of this is that you can create gentle and consistent water movement throughout your aquarium without rough surface agitation. This is perfect for planted tank owners who inject carbon dioxide (CO2) into their aquariums and want to create as little surface agitation as possible.
Another advantage of placing the spray bar underwater is that you won’t hear any splashing sounds as the spray hits the surface of your tank – although I actually find the soft pattering sound relaxing. It sounds like rain to me.
But to get the best surface agitation, you will want to use a spray bar above the water.
3. Angle the spray bar up, across or down?
Now, you must decide which direction you are going to point the holes of the spray bar.
This will determine where and how the stream of spray hits your aquarium.
Let’s take a closer look at the impact that angling a spray bar can have on performance.
Above water spray bar placement
1. Angled toward the front of the tank
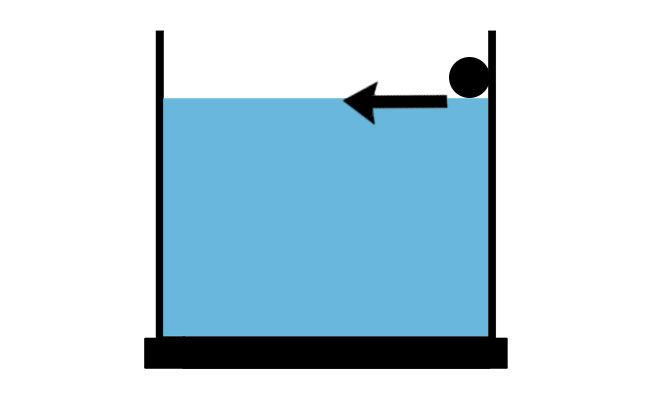
To create even water movement across the surface of your aquarium, position the spray bar so that the holes are pointing horizontally across the surface of the water.
2. Angled downward toward the rear of the tank
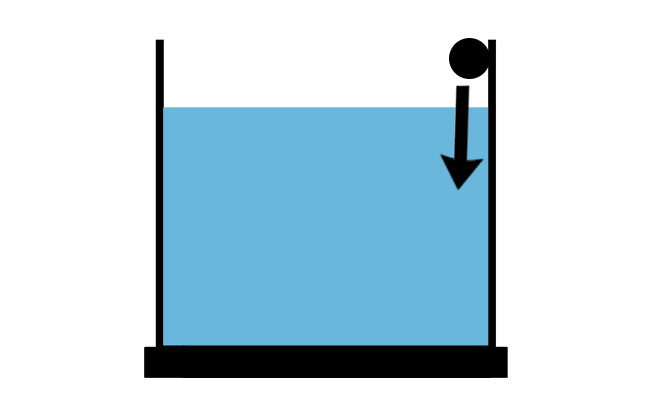
If you just want to create strong surface agitation along a narrow section of your aquarium, you can angle the spray bar downward so that it just churns the surface water.
3. Angled toward the glass

Trying to avoid the surface agitation all together? Why not aim the spray bar toward the glass of your aquarium. The spray will bounce off the glass and weaken before hitting the surface of the aquarium, resulting in minimal surface movement.
Underwater spray bar placement
1. Angled upward

You can use the spray bar to gently stir the surface of your water: simply angle the spray bar upward so that the holes point towards the surface. Spraying the surface from underneath will cause lighter surface movement than spraying it from above.
The farther down you place the spray bar, the less the spray bar will agitate the surface.
2. Angled downward
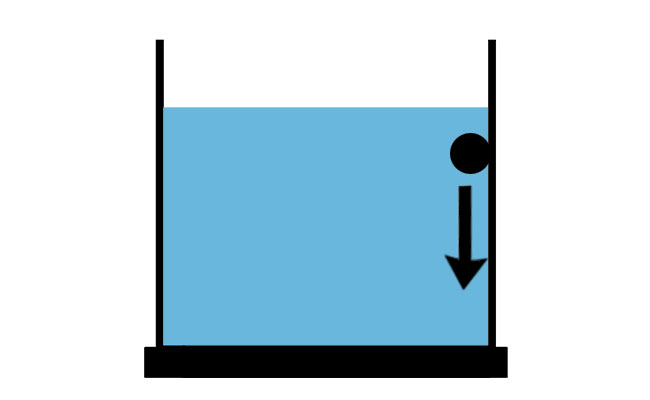
Angling the holes downward, when underwater, will produce a water current in that direction.
If you have a loose substrate, such as sand, you risk the stream from the spray bar blowing it around your tank.
How do you increase or decrease the spray bar pressure?
Did you know that you can increase or decrease the strength of the water stream that shoots out your spray bar?
The pressure of your spray bar is determined by both the number and size of the holes that run along the length of the spray bar.
The smaller the size of the holes in the spray bar, the stronger the stream.
The larger the size of the holes in the spray bar, the weaker the stream.
The fewer number of holes in the spray bar, the stronger the stream.
The greater number of holes in the spray bar, the weaker the stream.
Those of you who are creating a DIY spray bar will have the most control over the number of holes and sizing…
That said, if you have a store-bought spray bar kit, you can increase the pressure by siliconing some of the holes closed or carefully drilling the holes out to decrease flow.
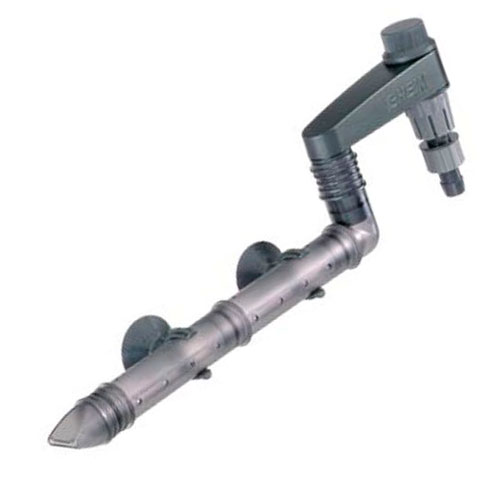
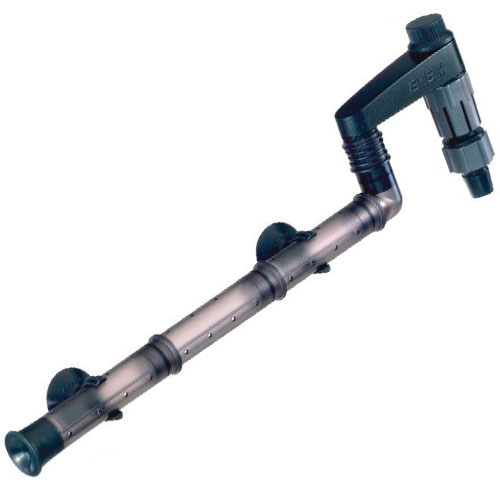
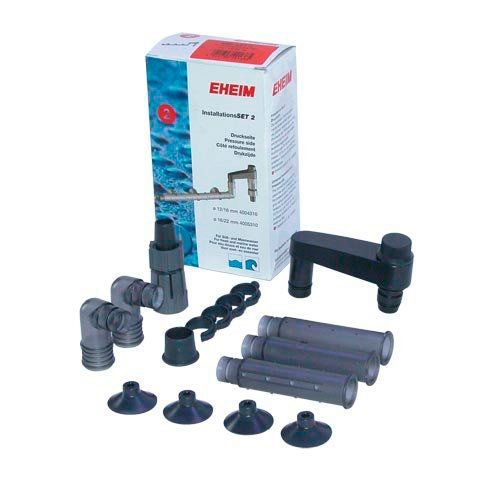
The best spray bar kit – Eheim
You have to hand it to the Germans – they sure know how to make a quality product. Coincidentally, Eheim also makes my favorite auto fish feeder and submersible heaters.
When choosing the correct sized model, the smaller number refers to the internal diameter, which you can use to determine if the spray bar will fit your filter outlet hose/tube.
But what if the sizing doesn’t match your setup?
Don’t despair, you can always use a multi hose adapter to size the hose up or down to get a proper fit.
You can pick up an Eheim spray bar in two different sizes:
1. Size: 12/16 mm (1/2 x 5/8 inch)
2. Size: 16/22 mm (5/8 x 7/8 inch)
So, what I like most about the Eheim spray bar kit is that you can piece it together any way that you see fit.
Whether you want a long continuous run or to bend it at 90 degrees around the corner of the tank, the option is yours. The sturdy suction cups hold it any way you see fit.
At the time of writing, no other commercially available spray bar kit comes close!
Conclusion
When used correctly, spray bars can be very effective at agitating surface water and producing water flow in your aquarium.
Oh and don’t forget…spray bars, like everything else in your tank, require maintenance every now and then. I personally use a flexible cleaning brush to remove gunk from the narrow tube – it works great!
So, periodically clean your spray bar to prevent debris and gunk from impacting its performance.
It is also worth mentioning that spray bars are very obvious. I mean, they are essentially a big hunk of plastic in your tank. While spray bar kits are more subtle than DIY spray bars, they still stand out in your aquarium.
If you want a product that sits on the outlet of your filter, can agitate the surface water and is nearly invisible, then check out a lily pipe!
Do you use a spray bar in your aquarium? Let me know in the comments below!

Ian Sterling, founder of Fishlab.com, began his aquarium journey over 30 years ago, driven by a deep fascination for fish and their diverse personalities. His website, Fishlab.com, is dedicated to making fishkeeping accessible and enjoyable, offering beginner-friendly guidance, expert insights, and a community for aquarists to connect and share experiences.


Comments (14)
I just set up a canister filter and was wondering what level to have the spray bar. Fish seem kinda weird, wondering if its bothering them. Its just below the the water n really churning the top.
Hi Angelo,
Different types of fish prefer different levels of current, so it certainly is possible the spray bar is making the water too turbulent. YOu can fix this by drilling more holes into the bar(weakens the spray power), adjusting the flow on your canister filter (if it has that setting) or even using a prefilter sponge to slow the rate at which water moves through the filter.
Thanks. Primarily s amer cichlids. I aimed it down a lil so theres a current but not rapids lol. They seem fine. Since i got ya here…..i got a pennplex 1000. 3 stage filter. Whats your opinion on how u would set up media for good clear water?
Hi Angelo,
I am not familia with the PenPlax 1000. If you are asking about the order of the filter media it should always be, in the order water flows through:
Coarse Mechanical -> Fine Mechanical -> Biomedia -> Chemical Media
If your filter doesn’t contain one of those, that’s fine. Skip it.
I am a total 16/22mm Eheim spray bar fan. They are handy because its pieces can be pointed individually up or down at any angle. The one I have in the goldfish’s 75 gallon has one section pointed down about 45°toward the gravel (improves circulation) and segments on either side pointed up against the glass for surface agitation without creating an unmanageably challenging current for fancy goldfish. Additional Eheim segments are available to make the spray bar as long as needed.
For the 10 gallon quarantine tank I got crafty using an old super reliable discontinued Marineland H.O.T. Canister and the spay bar part from its bio wheel hooked directly to the filter output. It took up much less space than the bio wheel housing, looked less cluttered and worked great above the surface as a noisy waterfall or twisted underwater pointed up for quiet agitation.
Hi Torchstar,
If you don’t want to make your own DIY spray bar then I completely agree that the Eheim is the best solution around.
That’s really clever how you modified your canister, I love it!
How can i point the sprayers to make the bottom gunk out to have the canister clean it up for me should i put the sprayer down to the bottom where the travels at?
Hi Justin,
I like the theory, but the best way to remove this bottom gunk is going to be with a gravel vacuum.
I m an old school fish guy and really enjoyed reading your in depth product reviews … I have been in the aquarium service with my wife for over 25 years I would like subscribe to your site for reviews thank you
Hi Tom,
Thanks for the lovely feedback. Unfortunately, I don’t have a way to subscribe at the moment. Even if you could, my life has gotten really busy and I am struggling to release new reviews and content. I hope to sort all this out soon!
Hello, what do yo do think of a spray bar for a planted tank & Bosemani Rainbows ? I have 2 fluval 206 & 306 & I have a sera reactor attached . I thought not only would it help distribute nutrients but also disperse the Co2 since my tank is 25 inches high. Or would a lily pipe work better? Also I do use an air stone for my fish , I wouldn’t need that if I had the spray bar correct? Thank you for your help & any suggestions. Dar:)
Hi Darlene,
Because you inject co2, I suspect a lily pipe might be a better option. Spray bars excel at agitating the surface, but this also contributes to more co2 leaving the water.
Ian
Always great articles. I am about to instal a new canister filter that has both options but I was wondering should the heater be nearer the inlet or the outlet, ie same or opposite end to spray bar. Thanks from NZ.
Hi Pete,
As with an in-line heater, it’s generally installed closest to the outlet. This way there is less temperature loss as water doesn’t have to travel through the canister filter before making it’s way back into the tank.